How to Expand the Windows System Drive Using Non-Adjacent Space
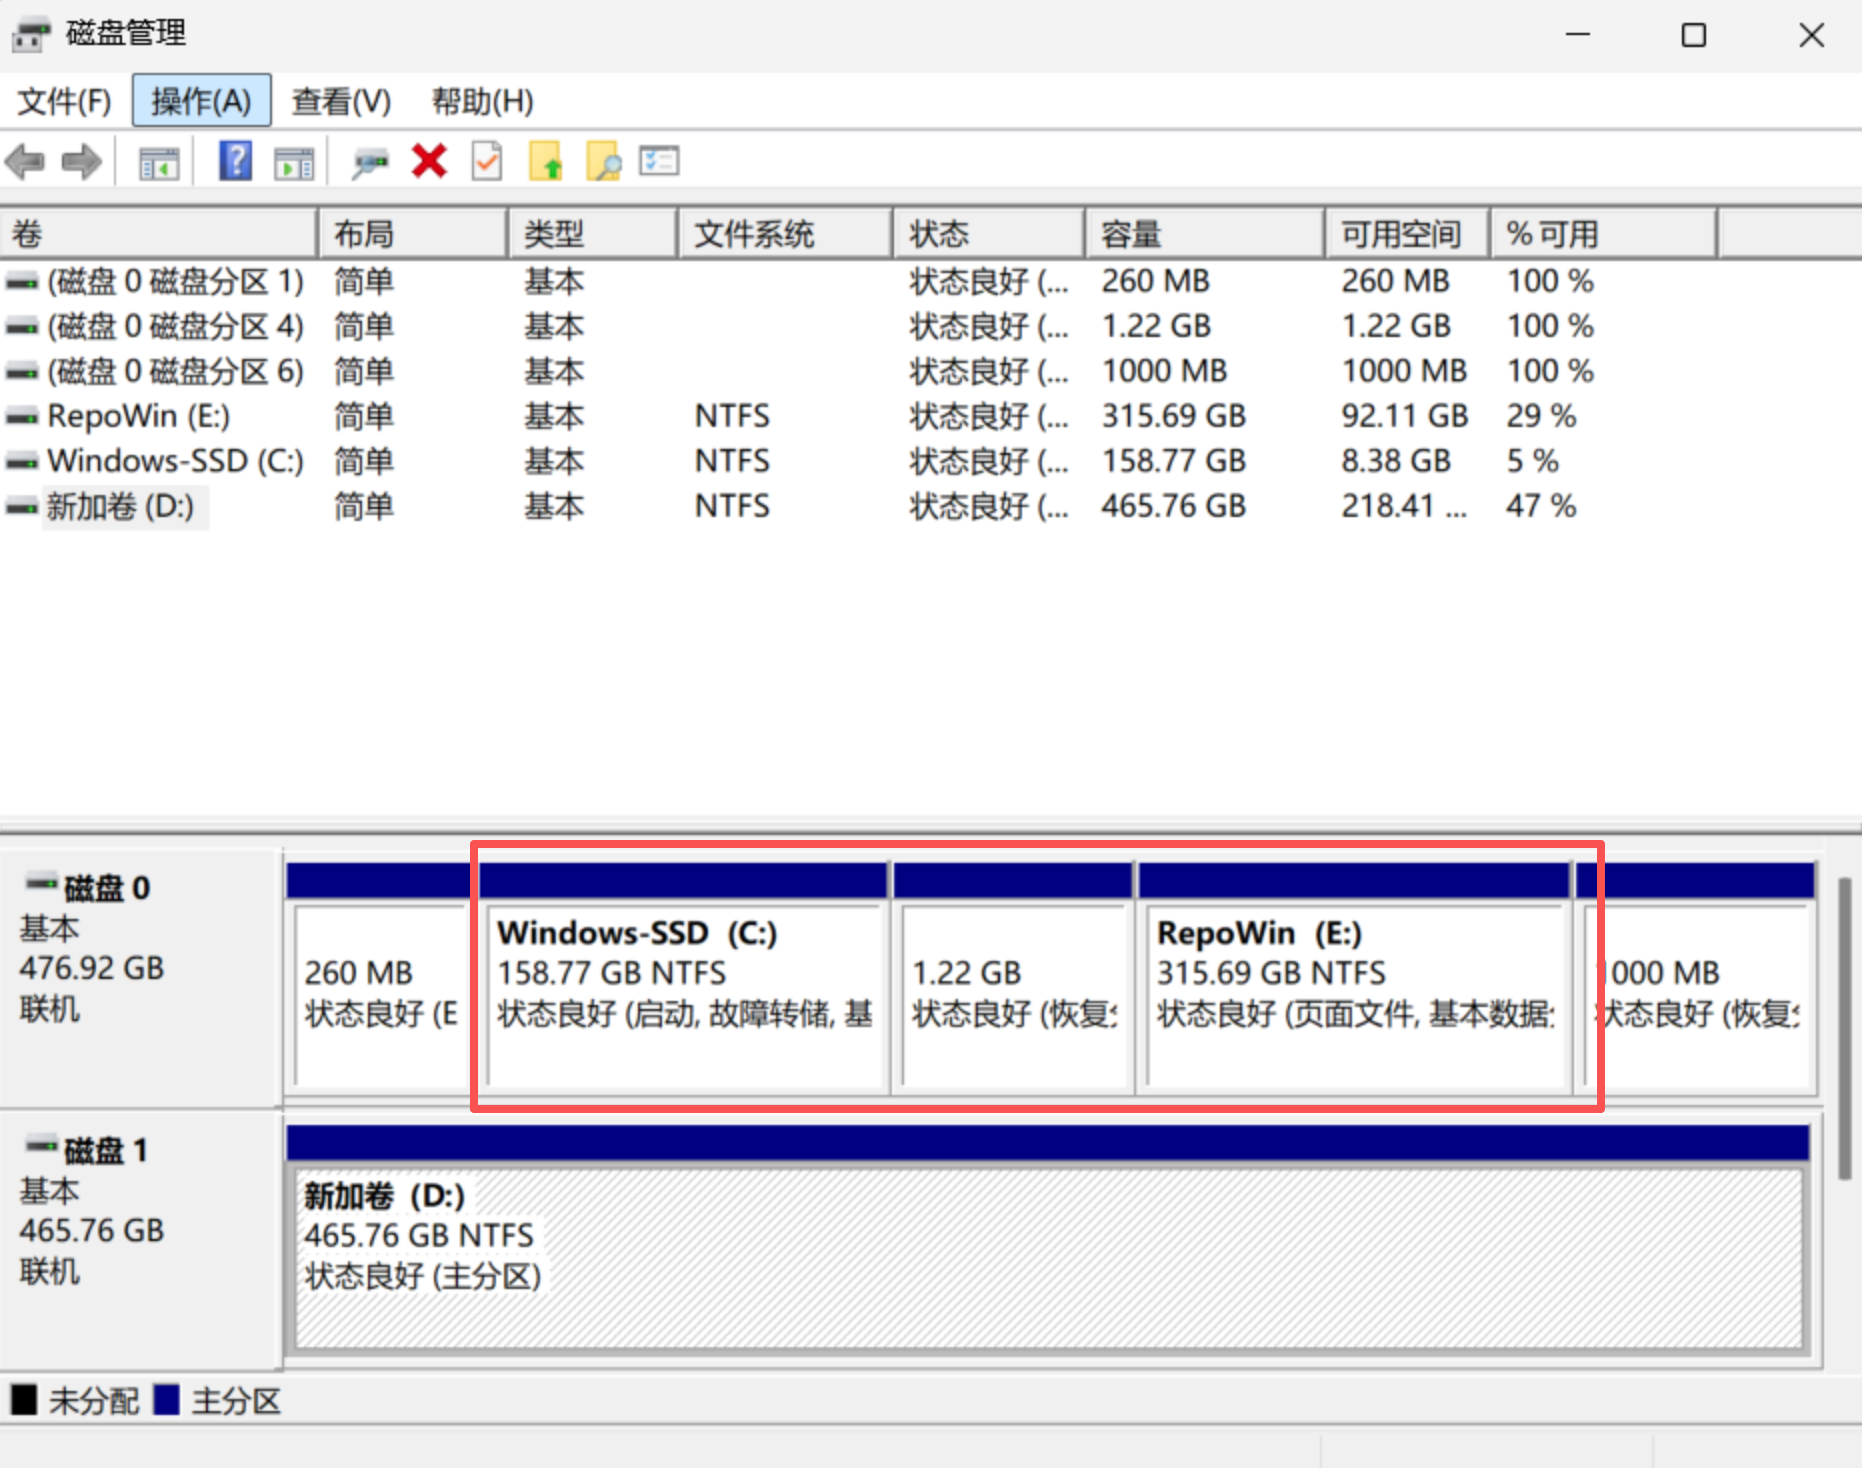
The scenario is as follows: C: is the system drive, and the goal is to merge space from E: into C:.
There are a few complications:
- Only adjacent unallocated space can be merged
- E: must be deleted and converted to unallocated space before it can be merged into another volume (such as C:)
- Software installed on E: will have broken shortcuts and become unusable after the drive is moved
The process therefore involves roughly three major steps:
- Back up / move data from E:
- Expand C:
- Fix software shortcut issues
Back Up / Move Data from E:
I had an empty D: drive dedicated to receiving the data from E:. Using copy/paste to move data is slow and cannot be resumed if interrupted.
Use the robocopy command instead — it’s reliable, fast, and supports resume:
robocopy E:\ D:\ /MIR /COPY:DAT /DCOPY:DAT /R:1 /W:1 /XJ-
/MIR— mirror copy (replicates the entire directory structure of E: to D:) -
/XJ— excludes junction points (prevents infinite recursion caused by certain junctions) -
/R:1 /W:1— minimal retries on error, so it won’t stall for long
Note:
/MIRwill turn D: into an exact mirror of E:. If D: already contains important data that you don’t want overwritten, do not use/MIR.
Expand C:
First, download a partition manager to handle drive deletion and resizing. AOMEI Partition Assistant is recommended here because it comes with a built-in WinPE environment — expanding the system drive requires WinPE, and other tools may not include it.
Delete E:
Delete E: in AOMEI Partition Assistant to convert it to unallocated space.
Note: Although Windows’ built-in “Create and format hard disk partitions” tool also has a delete option, it may refuse to delete E: if programs are still running from it or for other reasons. Use AOMEI Partition Assistant to force-delete the drive.
After force-deleting E:, the system may prompt you to restart. After rebooting, a Performance Options window may appear (possibly because a manual system state refresh is needed after a forced deletion).
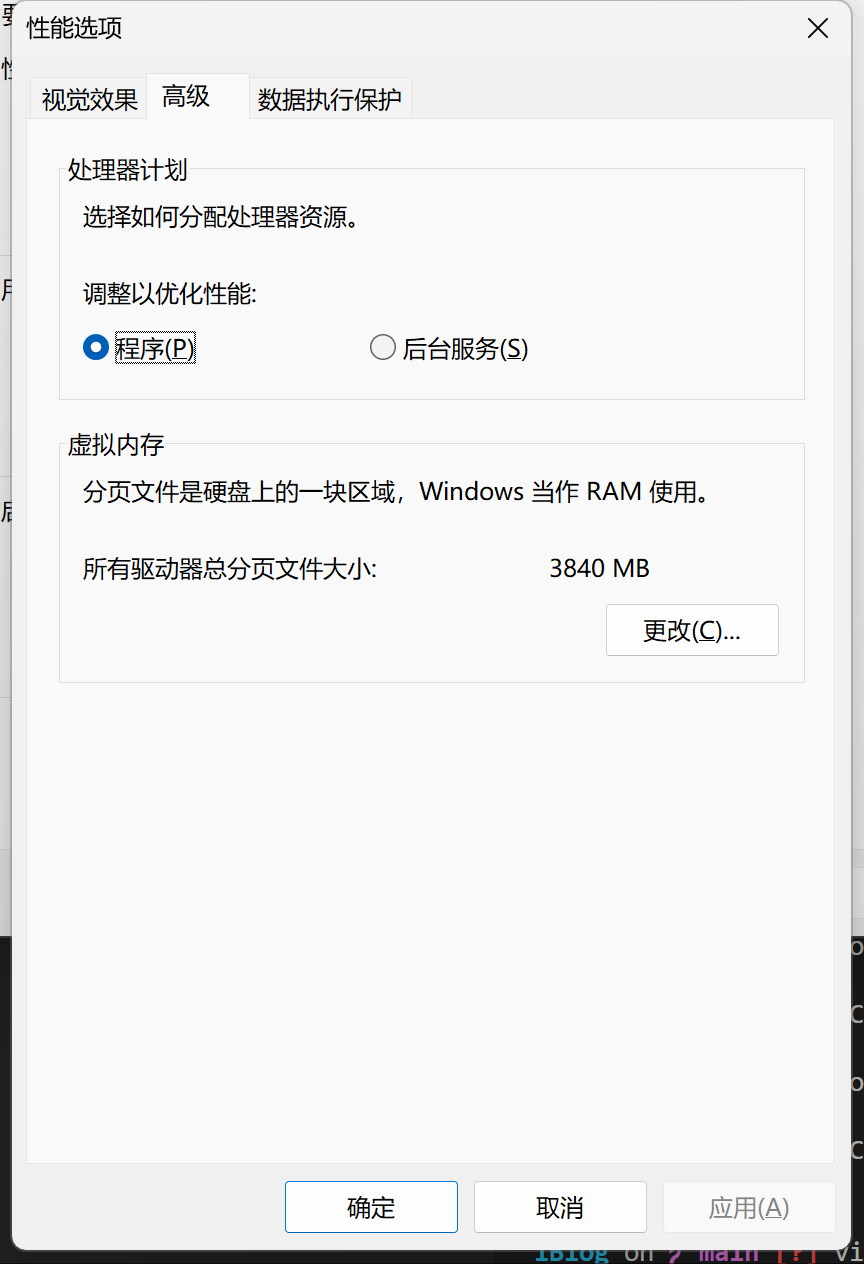
Go to Virtual Memory → Change, and select “Automatically manage paging file size for all drives.”
This Performance window can also be opened manually: search for View advanced system settings → Advanced → Performance: Settings → Advanced.
Move the Unallocated Space
The next step is to move the unallocated space to the right side of C: so that it becomes adjacent to C:. However, there is currently a Recovery Partition between them.
AOMEI Partition Assistant has a direct partition-move feature, but I implemented this manually instead:
- First, expand the Recovery Partition to absorb the unallocated space on its left
- Then shrink the Recovery Partition from the right, returning that space as unallocated on the right side
This effectively moves the unallocated space to the right of C:.
Merge the Space
Now extend C: into the unallocated space.
When expanding the system drive, you will be prompted that WinPE assistance is required. AOMEI Partition Assistant handles this automatically with its built-in WinPE. Simply confirm the operation — the computer will reboot automatically, enter WinPE, complete the resize, and then reboot again back into your normal system.
C: will now have the expanded capacity.
Fix Software Shortcut Issues
In “Create and format hard disk partitions,” right-click D: → Change Drive Letter and Paths, then reassign it to the letter E:.
This may fail with a “The parameter is incorrect” error — try restarting the computer to resolve it.
Once the drive letter is changed back to E:, all software should resolve its paths correctly and all application shortcuts should work normally again.